Task Scheduler
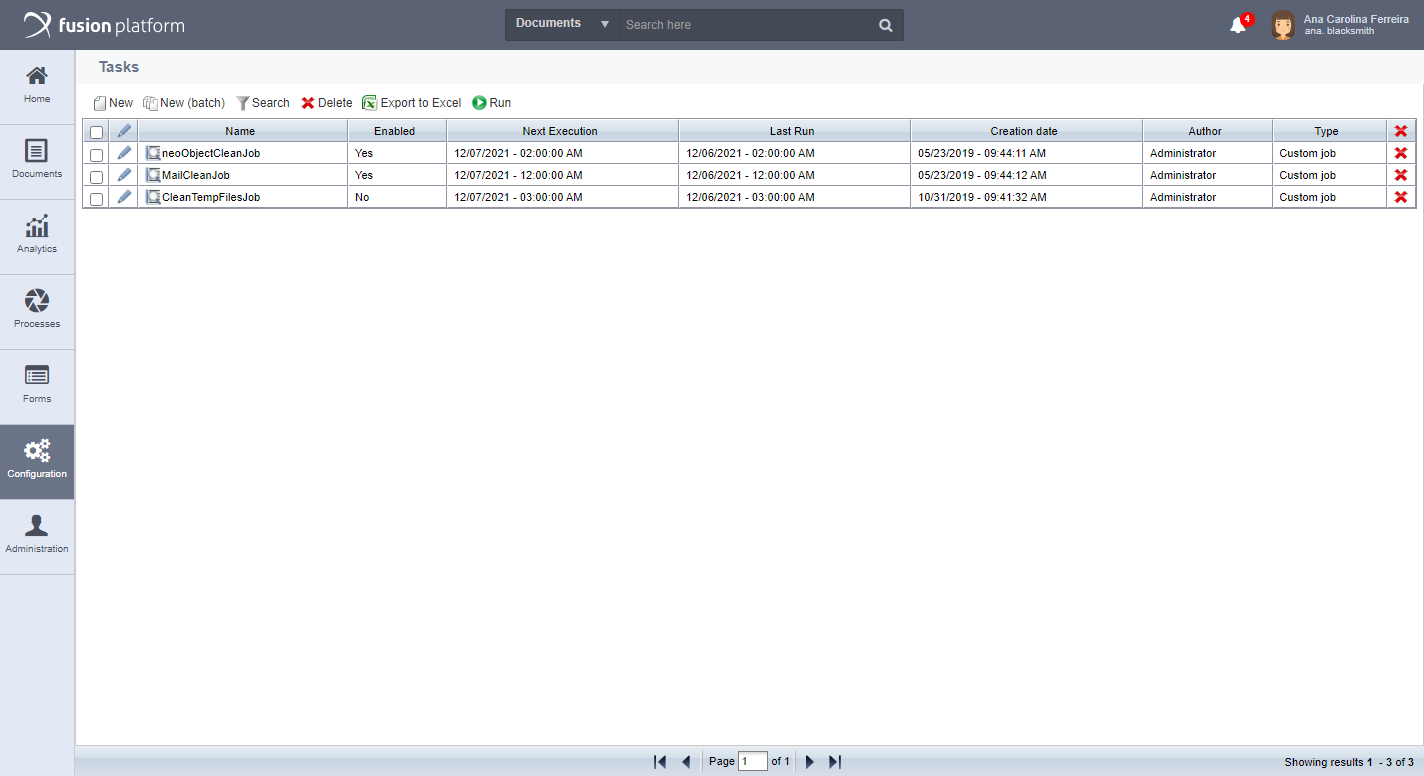
With the task scheduler, you can start processes automatically, without waiting for the user to start. When you open the task scheduler, the following screen will be available in Setup > Task Scheduler:
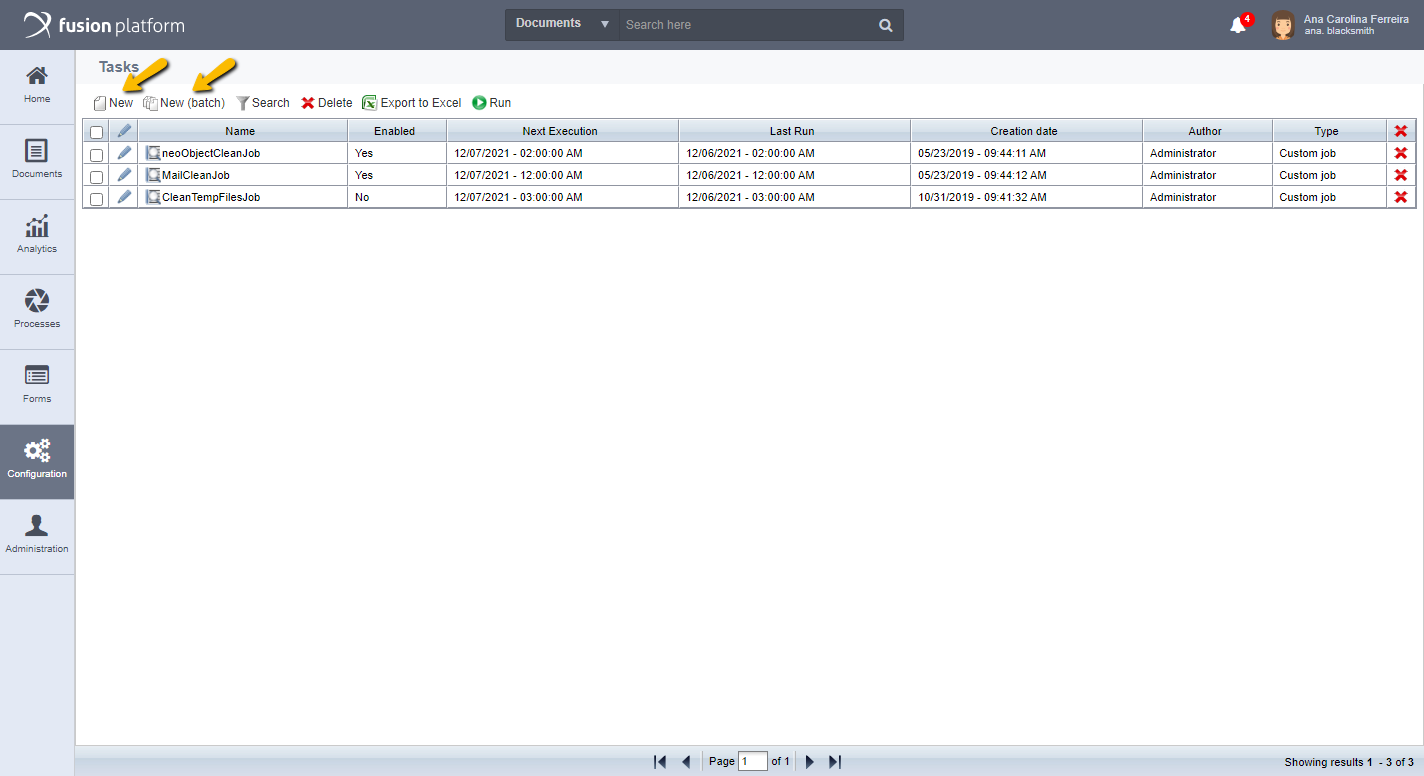
To create a new task, click New. To create more than one, click New.
By clicking New, you can then add a new task:
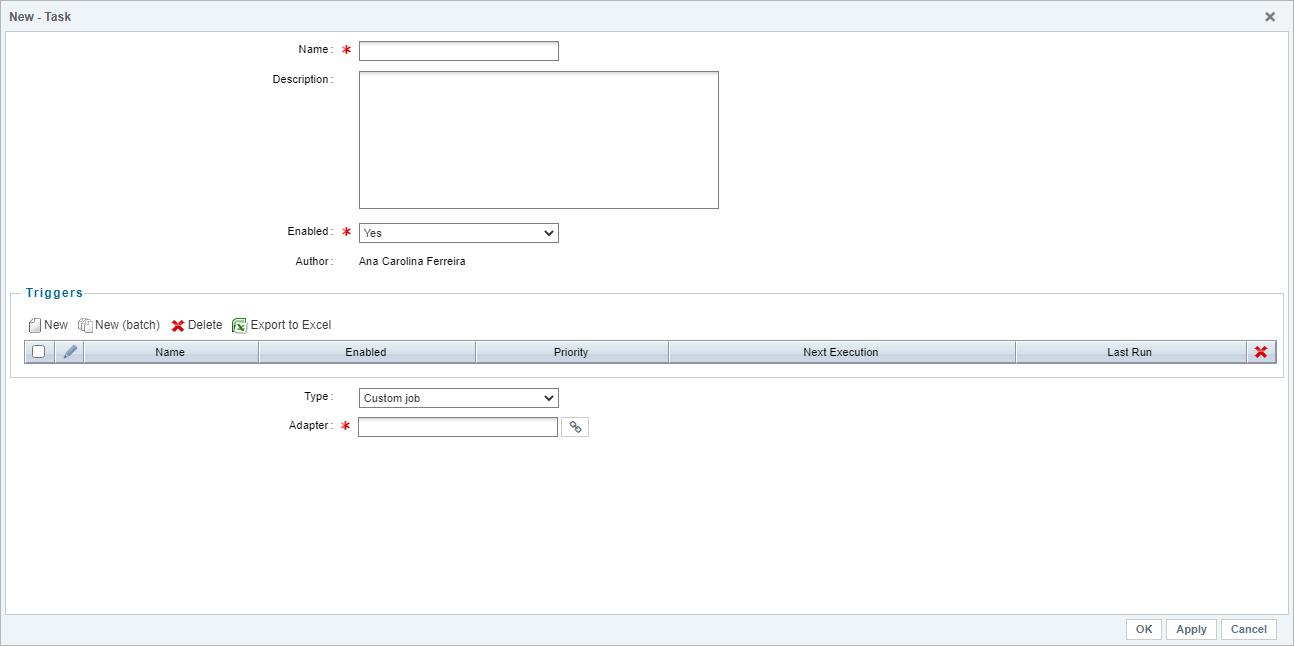
- Name: It is mandatory to enter a name for the scheduler.
- Description: Enter a description for the scheduler.
- Enabled: Yes or No is required for this field. Select Yes to make this scheduler enabled, select No for the scheduler to be inactive but to remain stored.
- Author: Displays the name of the user creating the scheduler. This field is already filled in, by default with the name of the user who is logged in to the system.
- Triggers: To configure the frequency at which the task will run. To add a trigger, click New. To add more than one, click New:

It will then open on the following screen:
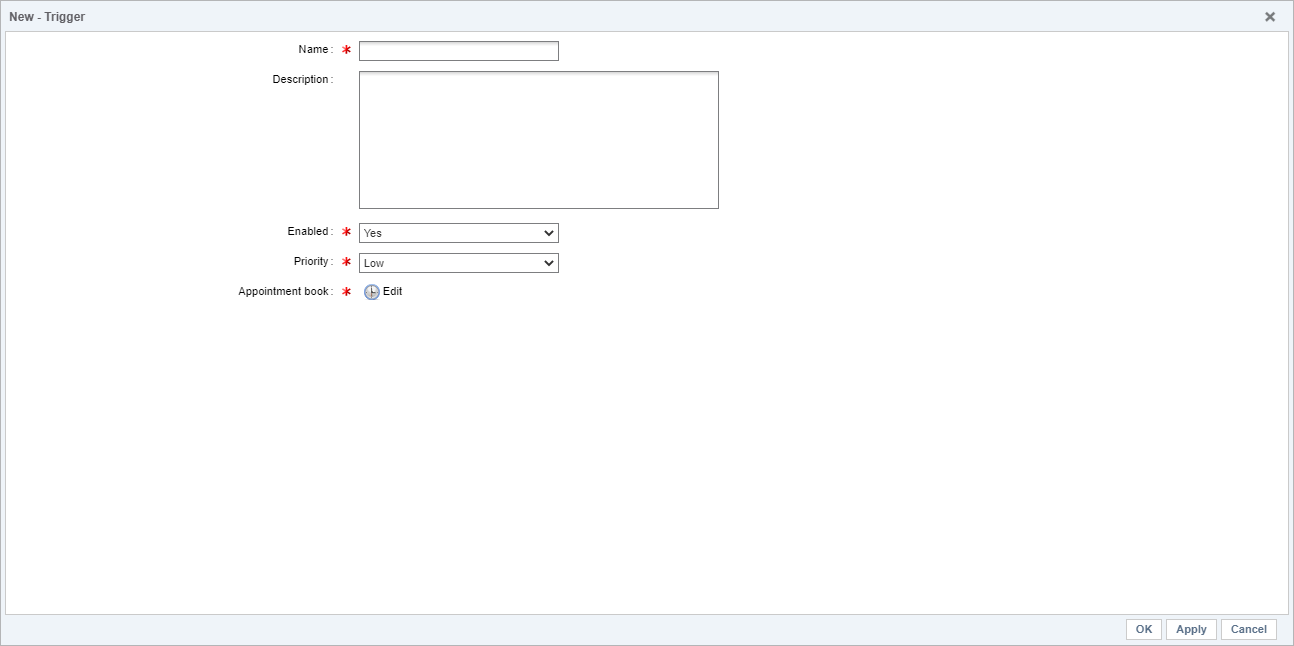
- Name: It is mandatory to enter a name for the trigger.
- Description: Enter a description.
- Enabled: Select Yes to make this trigger enabled. Select No to allow the trigger to remain stored but disabled. This field is mandatory.
- Priority: It is mandatory to select the priority of this trigger, and it is possible to inform whether it is Low, Medium, or High.
Attention
The scheduler runs 5 tasks in parallel at a time. So if there are more than 5 triggers to be executed at the same time they will be started based on the configured priority, in other words, triggers configured with High priority will be executed first, followed by triggers with Medium priority and lastly Low priority. However, if there are tasks configured by general system administrators at the same time and priority as tasks configured by regular users, the administrators' will start first.
- Schedule: This is a mandatory field, when you click on edit you can configure the trigger period, as shown in the image below:
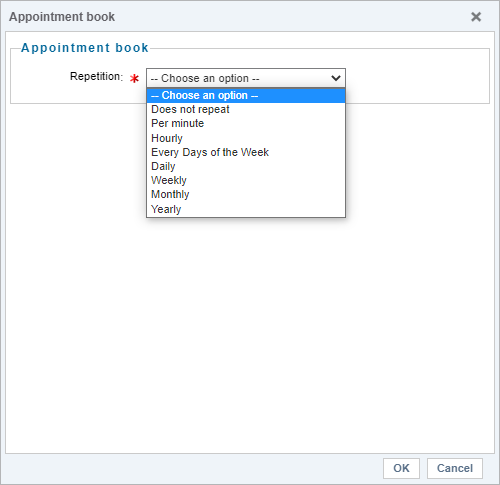
Attention
By selecting the "Every Days of the Week" option, the scheduler will run only on weekdays.
- Type: When you select specific, the field below is displayed:
- Adapter: To create a more elaborate task, enter the Java class in this field. This customization adapter is not mandatory.
When you select Start Process, the fields appear:
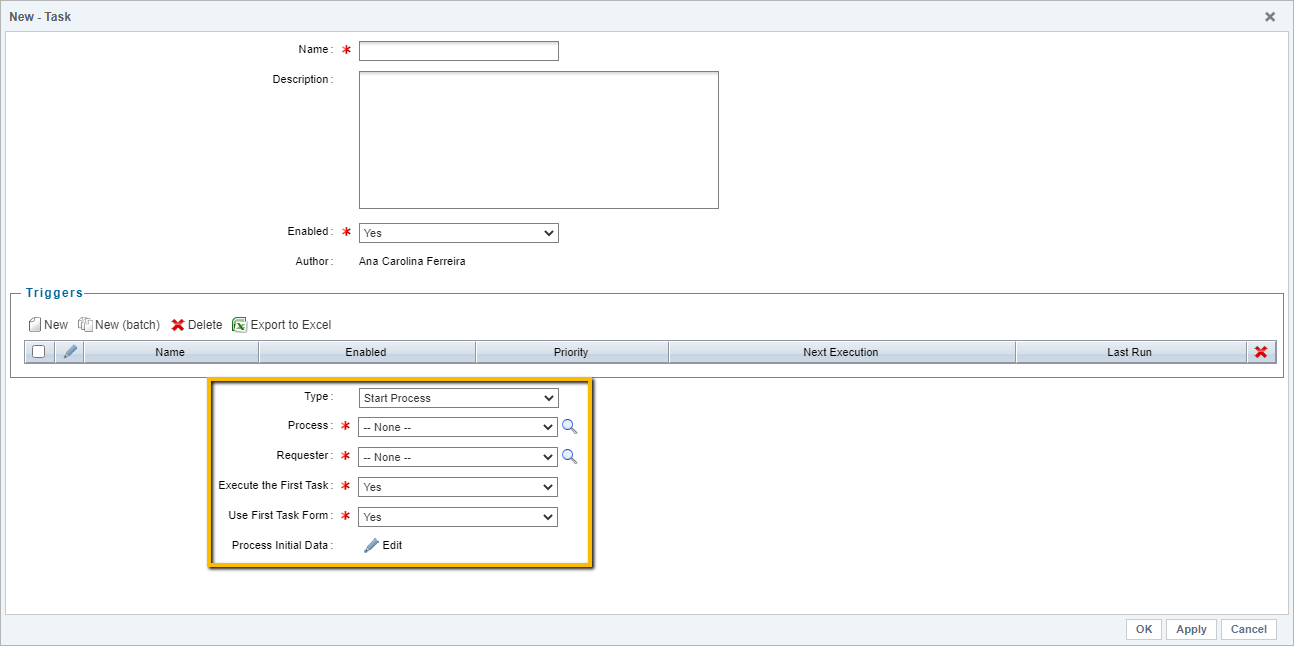
- Process: Select the desired process.
Attention
It is possible that the option to select a process as seen in the previous image is not always available, and only the magnifying glass tool is available (this occurs when a number of records are reached, which are: 30 records in Fusion in Mobile format and 60 in Fusion in Web format) for select the desired process.
- Requester: Inform a user who will become a beginner in the process.
Attention
It is possible that the option to select a requester as seen in the previous image is not always available, and only the magnifying glass tool is available (this occurs when a number of records are reached, which are: 30 records in Fusion in Mobile format and 60 in Fusion in Web format) for select the desired requester.
- Perform the first task:- Run the first task: Select the "Yes" option so that the system runs the first task of the process and the user is responsible for running the second task onwards. By selecting the option "No", the user himself must execute the first task of the process.
- Use First Task Form: Select Yes so that the form for the first task of the process must be completed. By selecting No, the first task will be unfilled, causing the user to complete the second task.
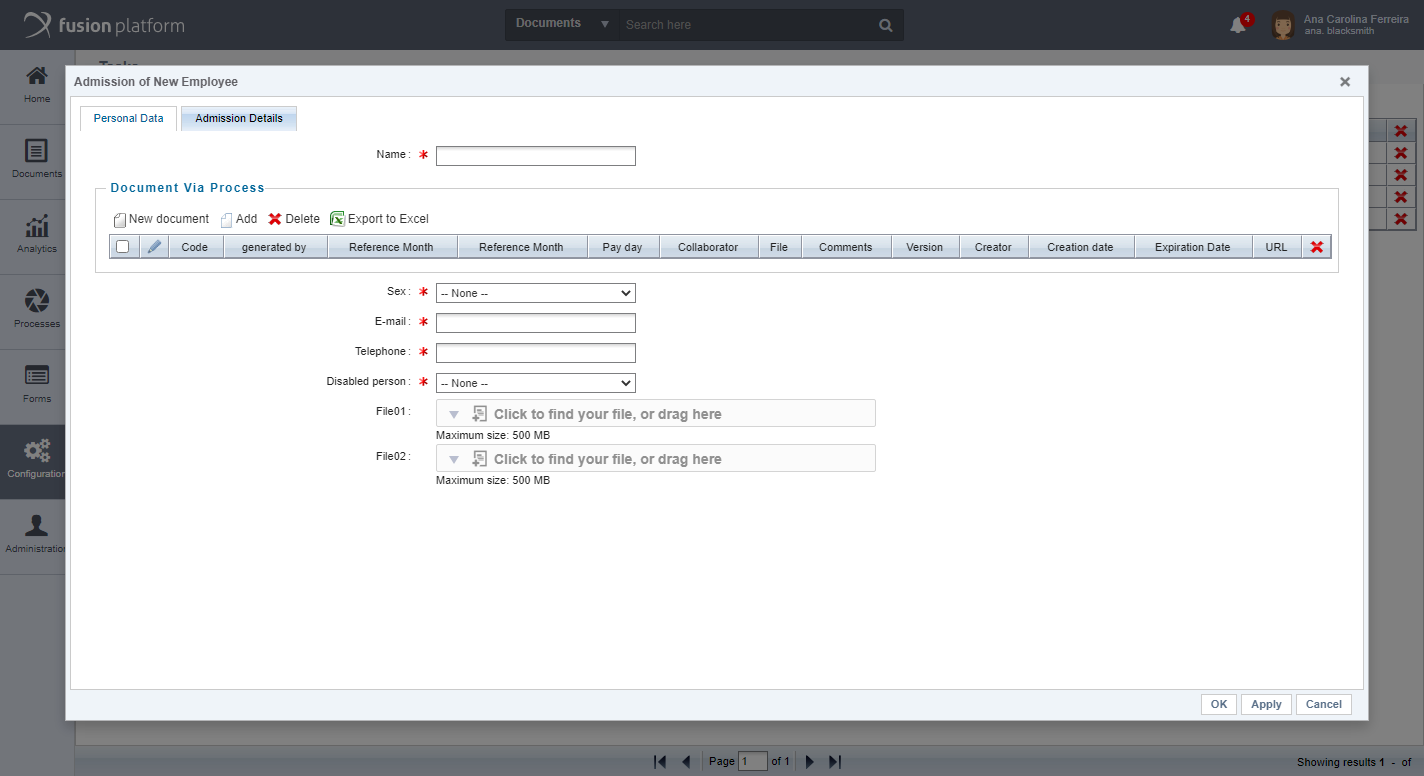
- Initial Process Data: After obtaining a selected process, the fields of the process will be available to be completed, according to the image below that shows the fields of the New Contributor Admission process: